Creating a Role
Step-by-step guide
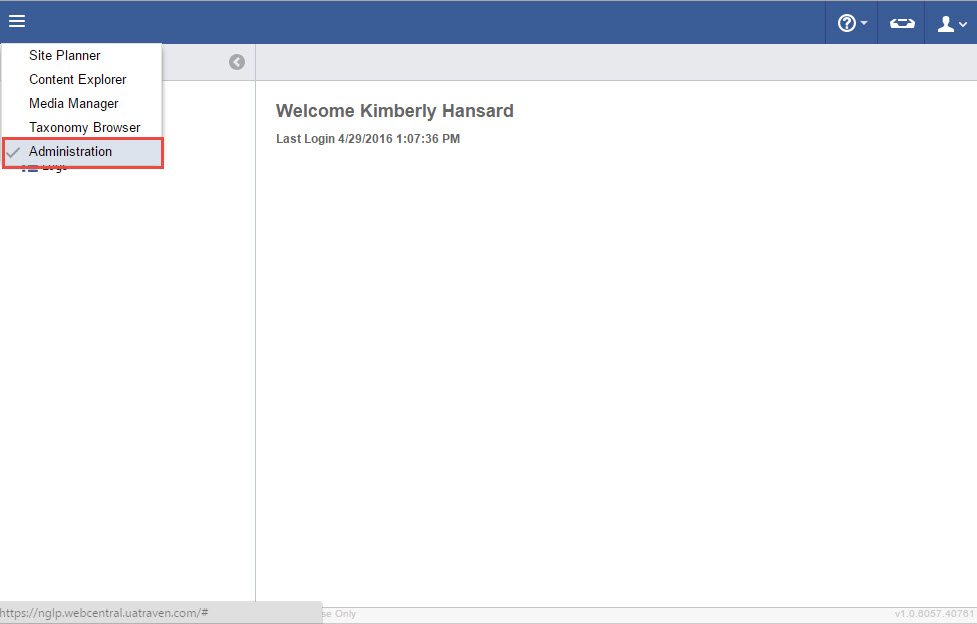
- Click on the menu icon in the top left header area.

- Click "Administration".
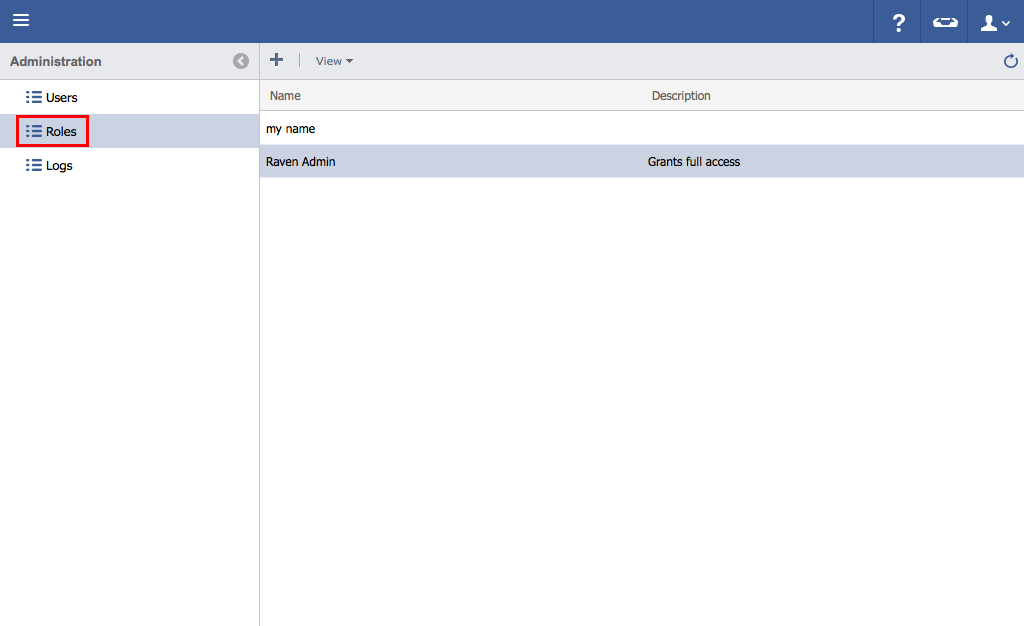
- Click "Roles".
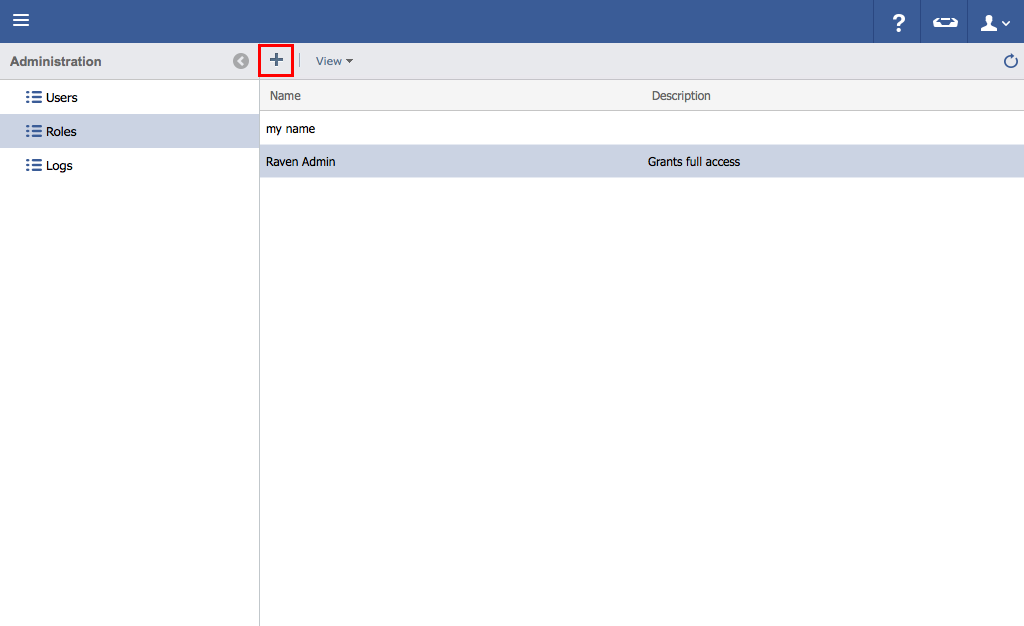
- Click the "Plus" icon.
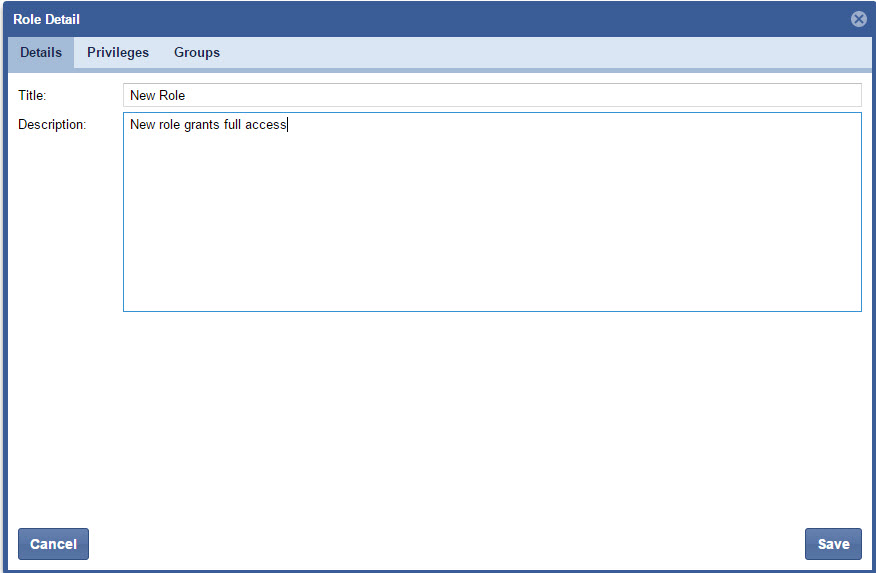
- Type in a title and description for the role.
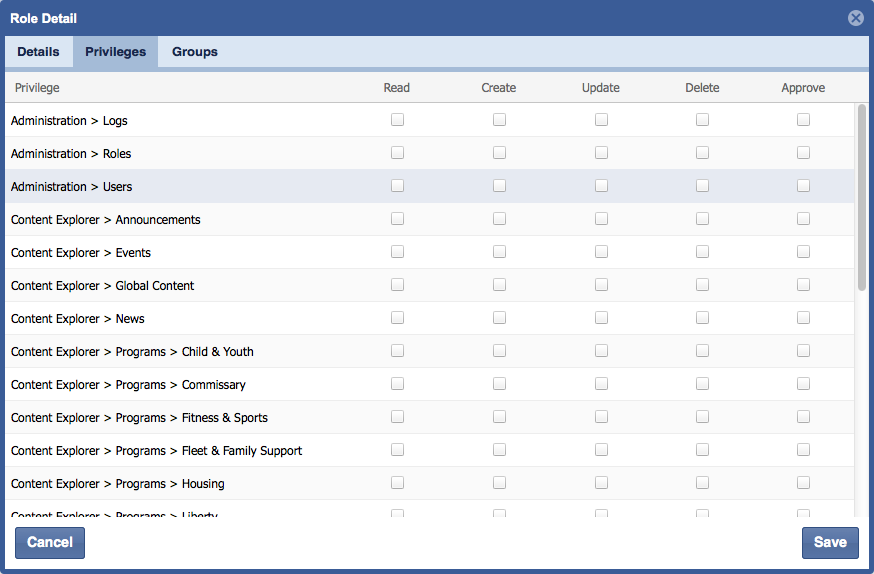
- Click "Privileges".
- Select the appropriate privileges for the role.
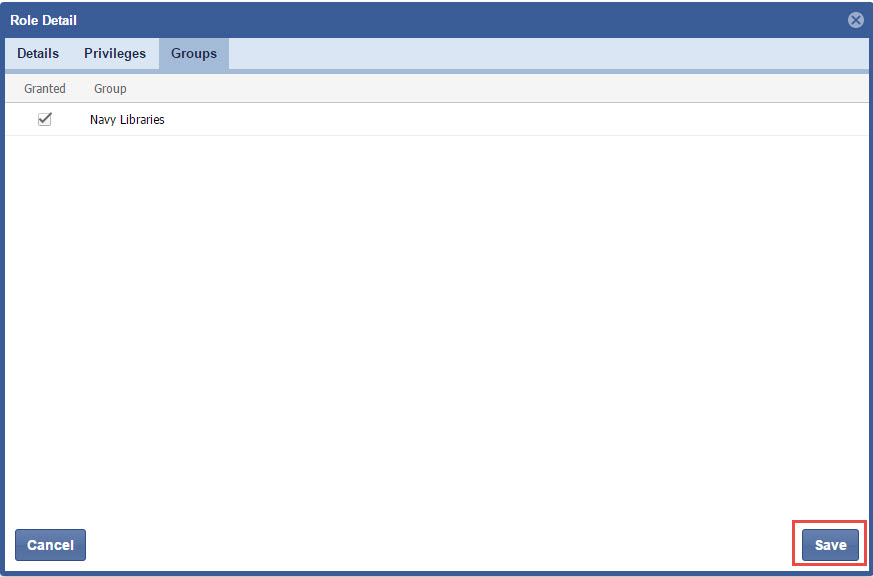
- Click "Groups" and select the desired Groups.
 Note: This tab will not display if there is only one available group.
 - Click "Save".