Newsletter
This is a guide to creating, sending, and viewing statistics for newsletters within the Marketing section of the CMS.
Step-by-step guide
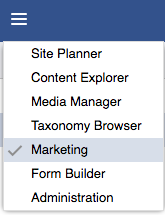
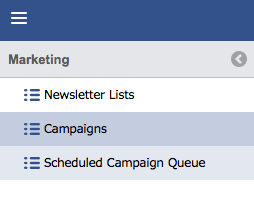
- In the top left menu, choose Marketing.
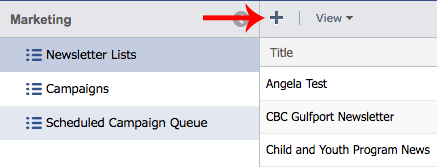
- The first item in Marketing is Newsletter Lists.

- Inside Newsletter Lists will be the Installation name or Newsletter name. Double click the list or the people icon on the right it will open with a list of people that have signed up through the website to receive a newsletter.
- Please check the list for duplicate emails or random words. To delete an entry click the entry to highlight and then press the delete button on the keyboard.
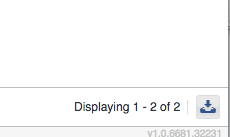
- The list can be downloaded by choosing the download icon in the bottom right corner of the screen.
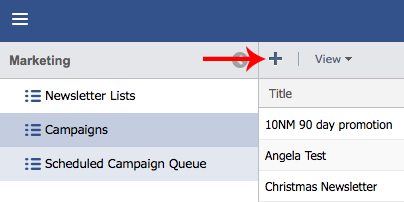
- To add a new list, click the plus button in the top left of the middle panel.
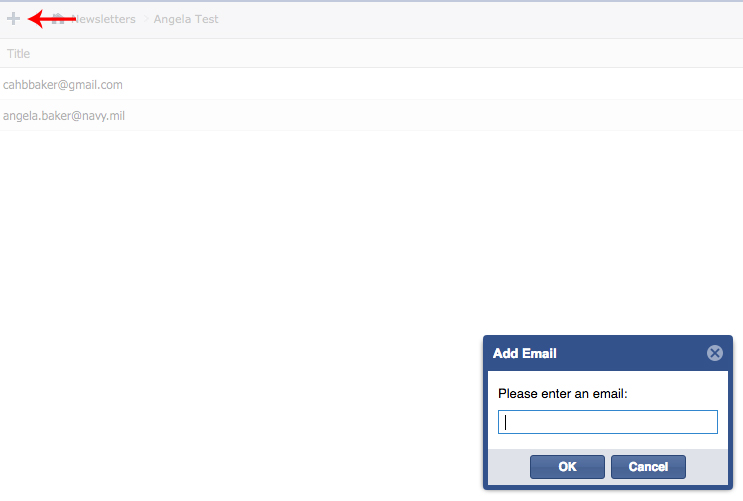
- To add an email address to a list, click the plus button and type in an email address.
- Consider adding a test Newsletter List to preview the newsletter before it is sent out to the customers.
- To create a newsletter, choose the second menu item on the left called Campaigns.
- To add a newsletter, click the plus button at the top left of the middle column.
- Add a title and change template from None to Default.

- The "Default" template is a basic centered template that content can be added to. Choose a group and then click the Next button. Using the blank NONE template in Campaigns will allows straight text to be entered or source code.
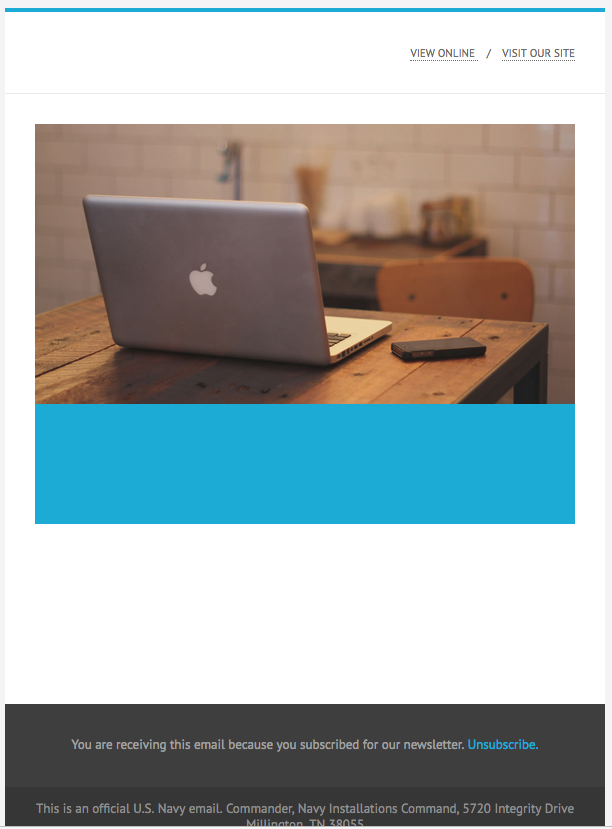
- This is the "Default" template.
- To change the color scheme click the Page Settings Gear which is located under the Profile icon on the right. This will bring up a screen called Campaign Additional Settings.
Click in the Alternate Color box to bring up a color selection tool or type a hex color code in the box.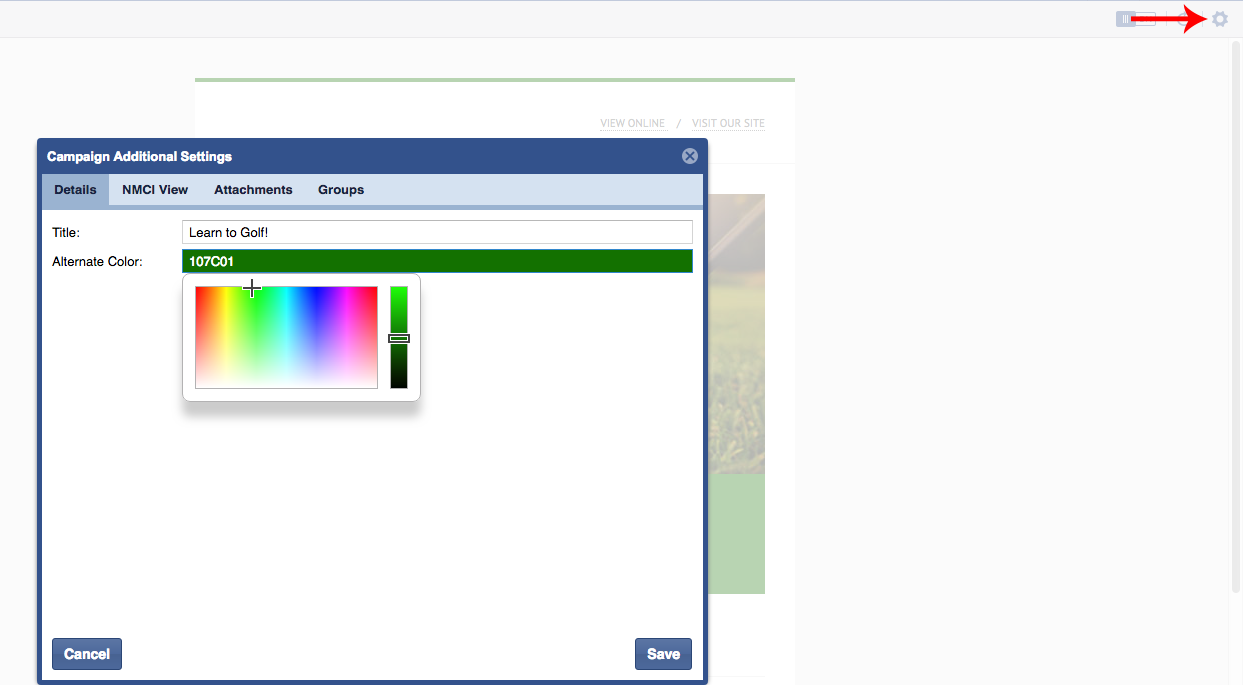
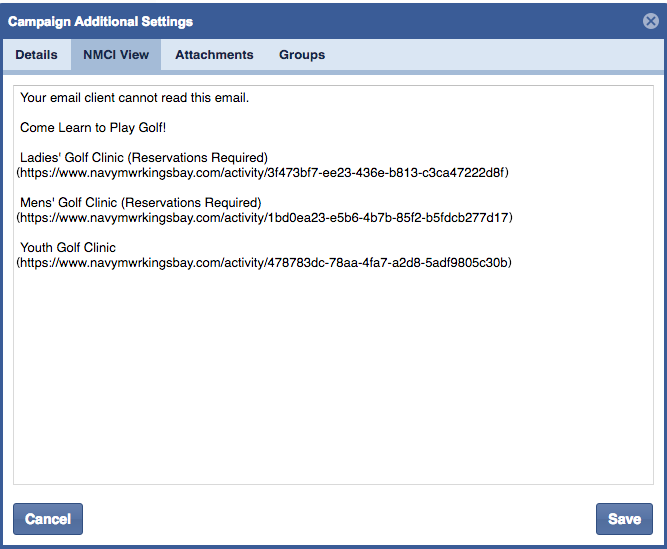
- Inside the Campaign Additional Settings is a tab for NMCI View. This tab allows the customer to view a newsletter if opened on an NMCI computer to see straight text. Please type content here and add hyperlinks. Hyperlinks need to be parenthesis to prevent the "no-click" verbiage that NMCI adds in.
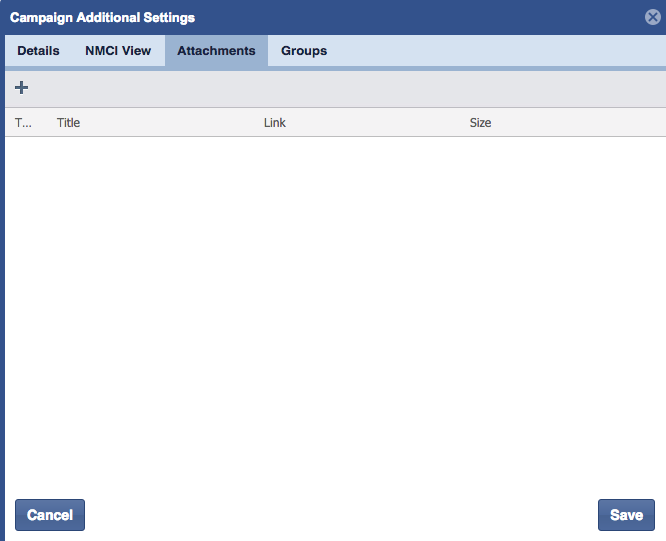
- Also inside Campaign, Additional Settings attachments can be added. This is helpful if a flyer or additional information needs to be sent out. Be mindful that customers may have a full inbox and if the attachment is large it will bounce.
- To edit the Default Template, roll over the image, blue title area or white area to see editable regions. By clicking on an editable region content can be added. The image size is 540 x 280 pixels. The resolution needs to be 72 pixels.
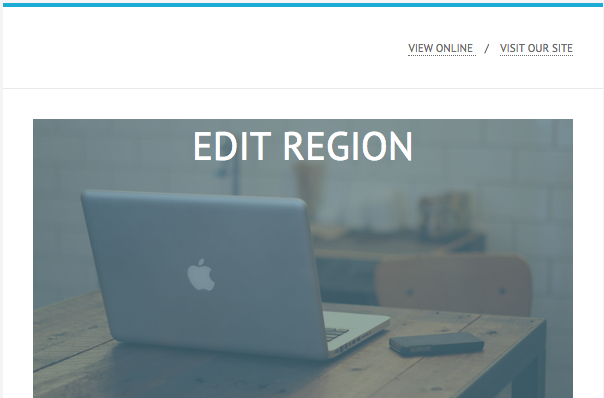
- The blue area is for a heading or title. Everything entered in this area is centered.

- The next area is for content. Content can be text, additional images, or smart lists from the Content Explorer which could include events, classes, jobs, news, or programs.
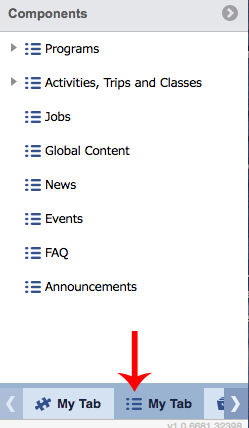
- To add a smart list, click the Edit Region. Then select the list icon in the bottom right corner under the Components list.
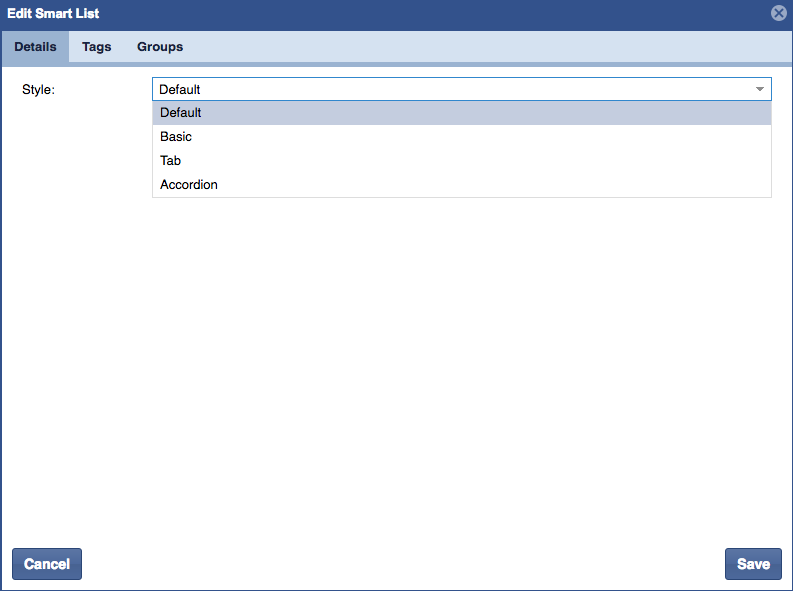
- The Smart List allows a choice from folders inside the Content Explorer. Double click the folder where the content is located. Choose the Default Style.
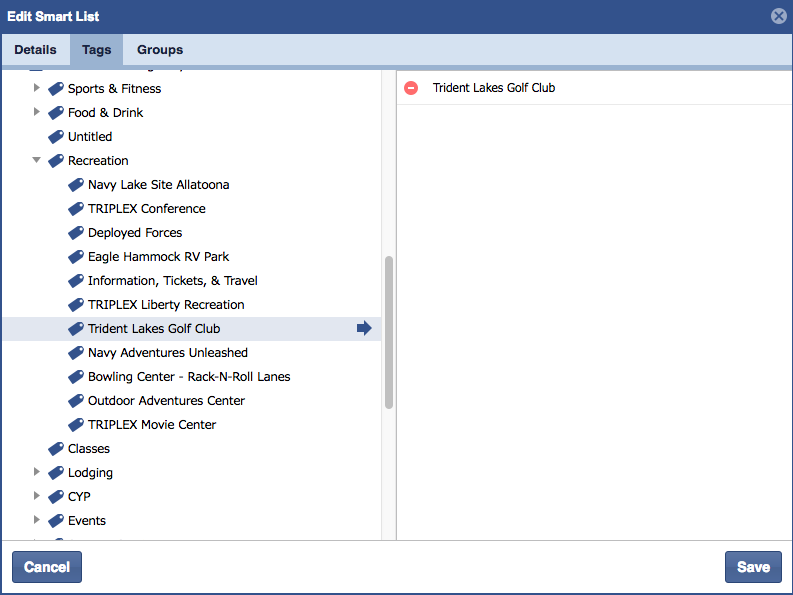
- Select a tag. To pull in particular events, jobs, news, or programs with a smart list you will need to tag the item. Tags help to divide content. For a detailed explanation of tags and how to use the Taxonomy Browser click here.
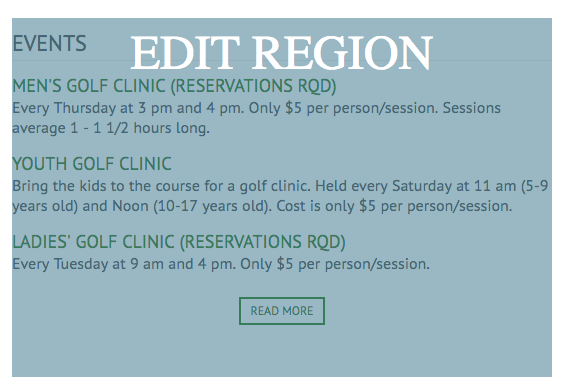
- Choose a group, then click Save. A smart list will look like the below in the Edit Region. Continue to add content and Save.

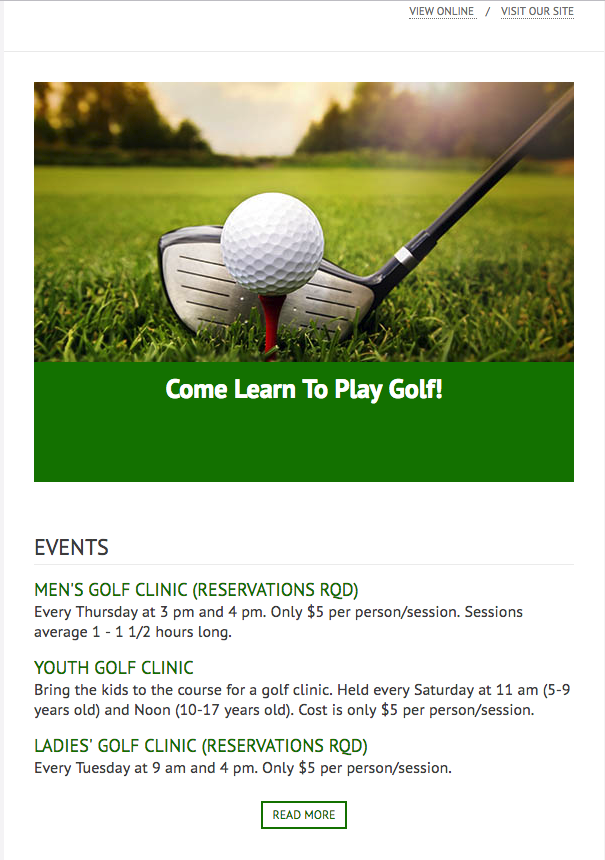
- An example of a newsletter.
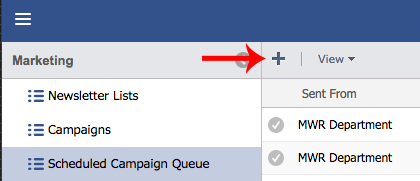
- To send out a Newsletter Campaign go to the Marketing menu in the top left. Select Schedule Campaign Queue. Then click the plus icon.
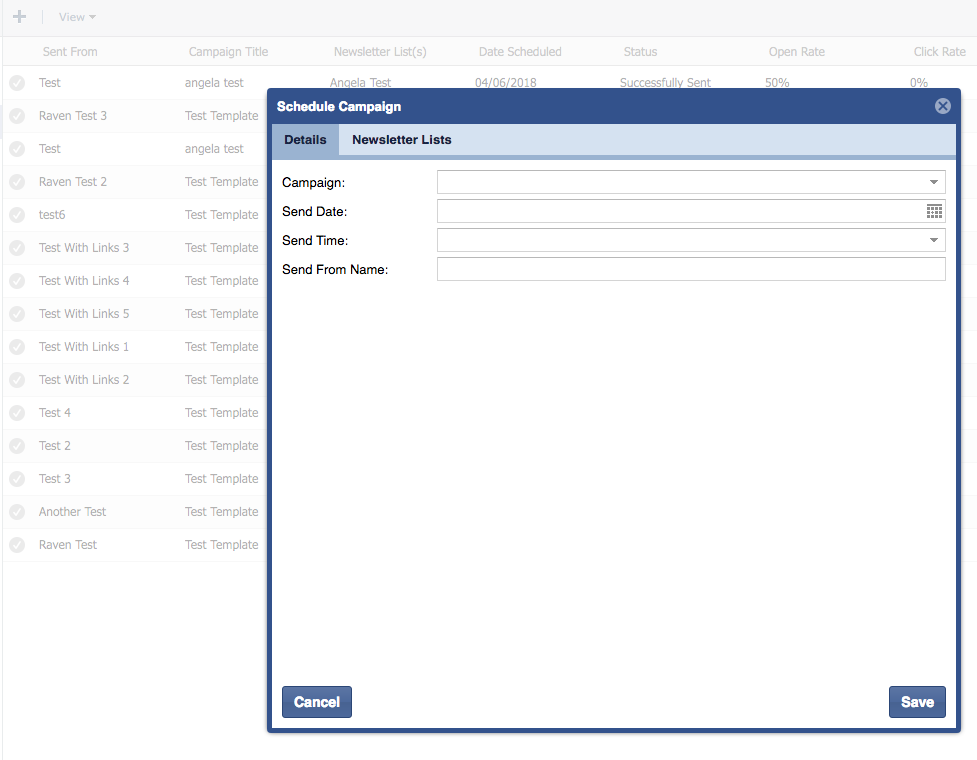
- Inside the Schedule Campaign details, choose a Campaign from the dropdown list. Choose a Send Date and Send Time. The Send Time is in GMT time. Click here for what GMT time is currently where you are. Then add a Send From Name. Please make this name generic, such as MWR Marketing Office. IMPORTANT, always send a test to yourself before you send it to the entire list. Send a test to your NMCI and to a non-NMCI email. Check ALL hyperlinks in the newsletter before you send to the entire list.
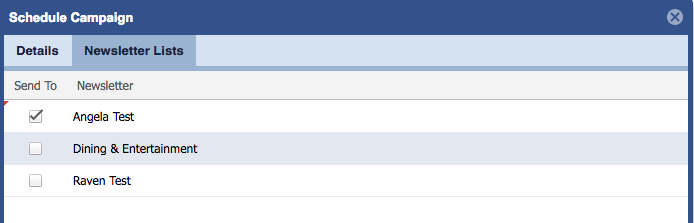
- Choose a Newsletter List to send to. Then, click Save.
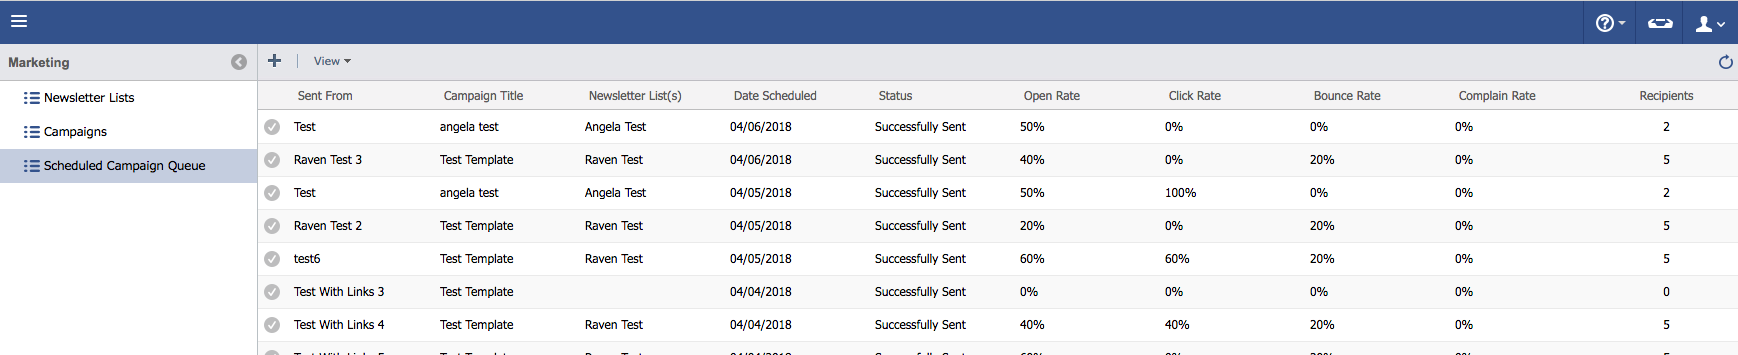
- You will then see the Campaign in the pending status until it is sent. It will turn to a gray circle with a successfully sent status when sent.

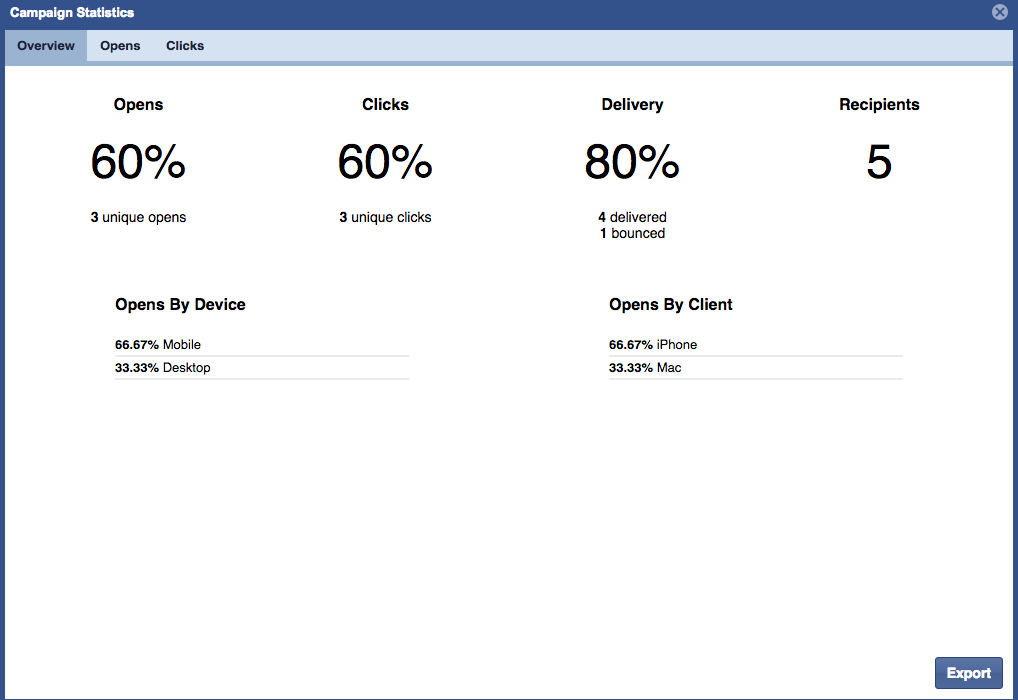
- Statistics will begin to populate after customers begin opening the Newsletter. View the statistics in the Scheduled Campaign Queue. There are columns for Open Rate, Click Rate, Bounce Rate, Complain Rate, and Recipients.
- By Double-Clicking on the sent campaign, more information on statistics is available. This information can be exported to Excel by clicking the Export button in the bottom right of the Campaign Statistics box.
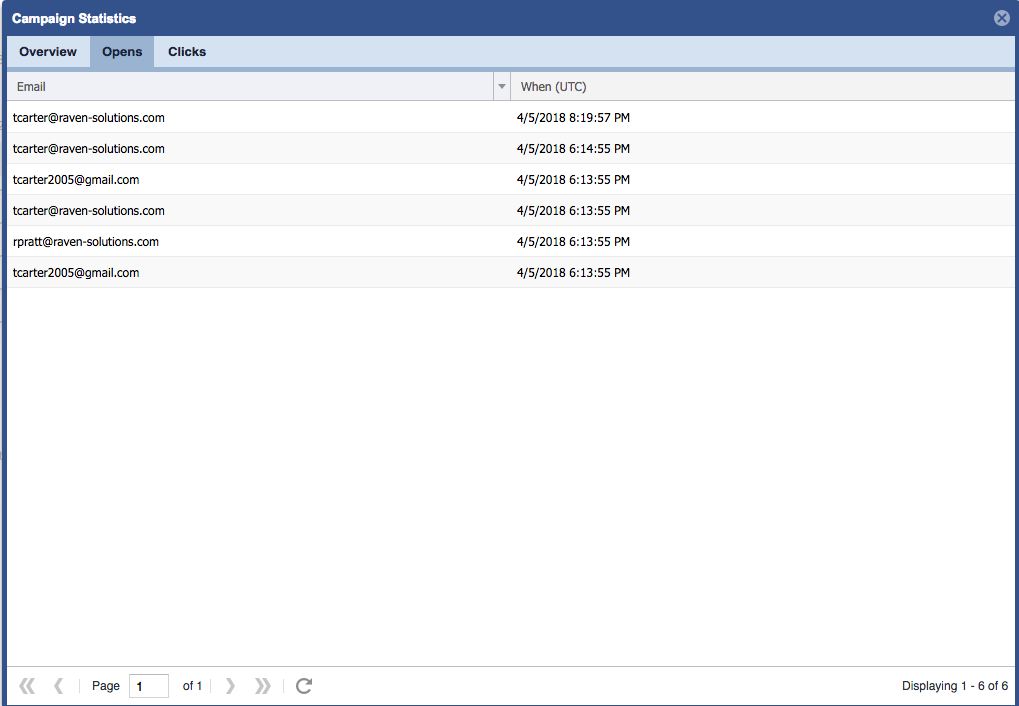
- The Opens tab shows which customers opened the campaign.
- The Clicks tab shows which customers viewed each click.
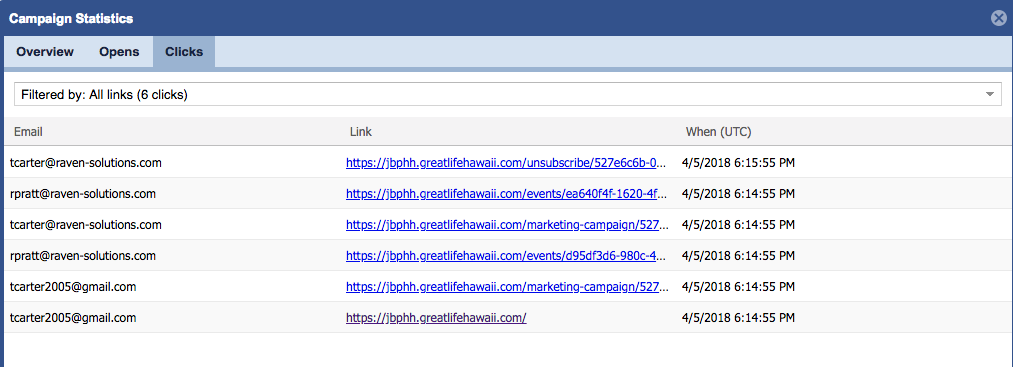
- The Filtered by dropdown list shows how many clicks each hyperlink received.
