Form Builder
Form Builder is used to create simple forms that customers can register for events, classes, etc.
Step-by-step guide to creating a form.
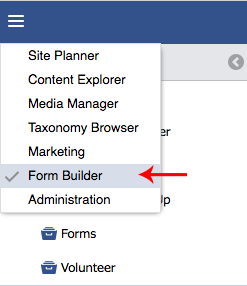
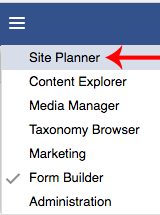
- Open the Menu in the top left corner.
- Find Form Builder.
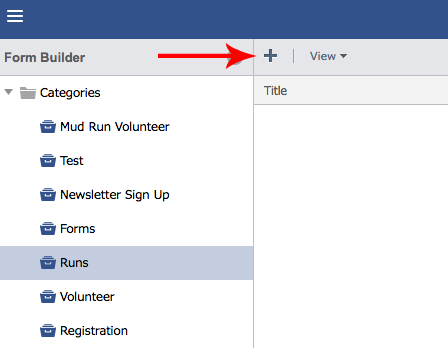
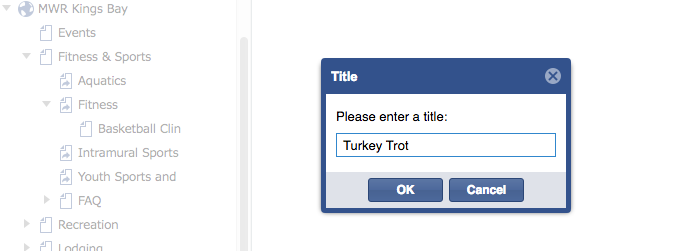
- Add a Category for forms to live under. For example, a category called Runs would contain only run forms.

- Under the Category, add a form.
- When creating the initial form, add a title, an email for the form content to be sent to, and a confirmation option. There are two options, Show Text and Redirect to Website. Edit this after saving by rolling over the form title and clicking the pencil icon.
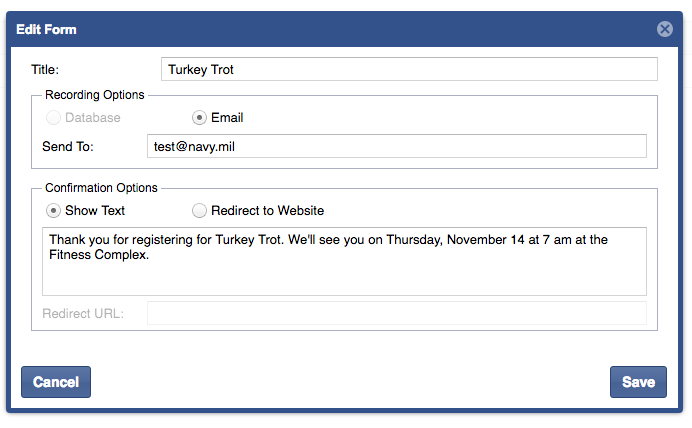
- Click Save.
- On Save, the Form Builder window will load.

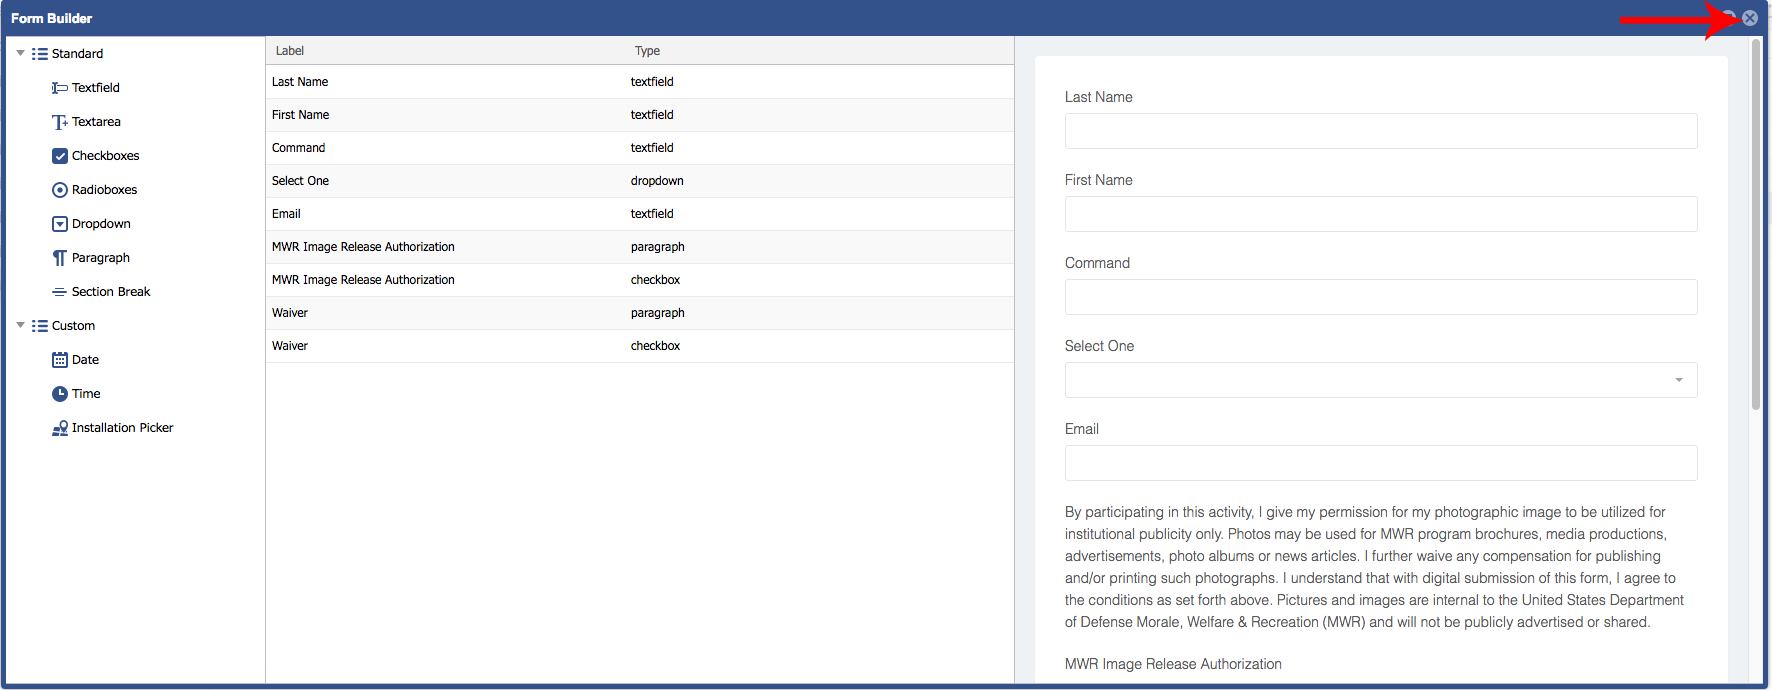
- The left column contains choices of items that would be used in the form. To select a choice roll over the item and click the arrow. The middle column will now contain the selection. The right column provides a preview of the form.
- Now build the form. Start by adding a Text Field.

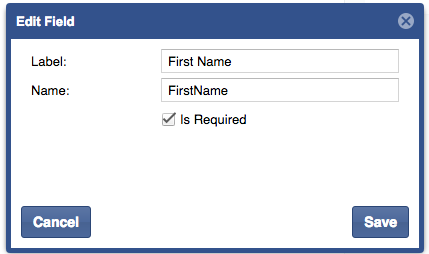
- Roll over Text Field and click the pencil icon to edit the field. The Label is what the customer sees. The Name is what will be recieved in the email after the form is filled out by the customer. The Name cannot have spaces. The Required checkbox should be checked for all pertinent information that the customer would need to fill out.
- Continue building the form by adding more selections from the left panel such as a dropdown list.
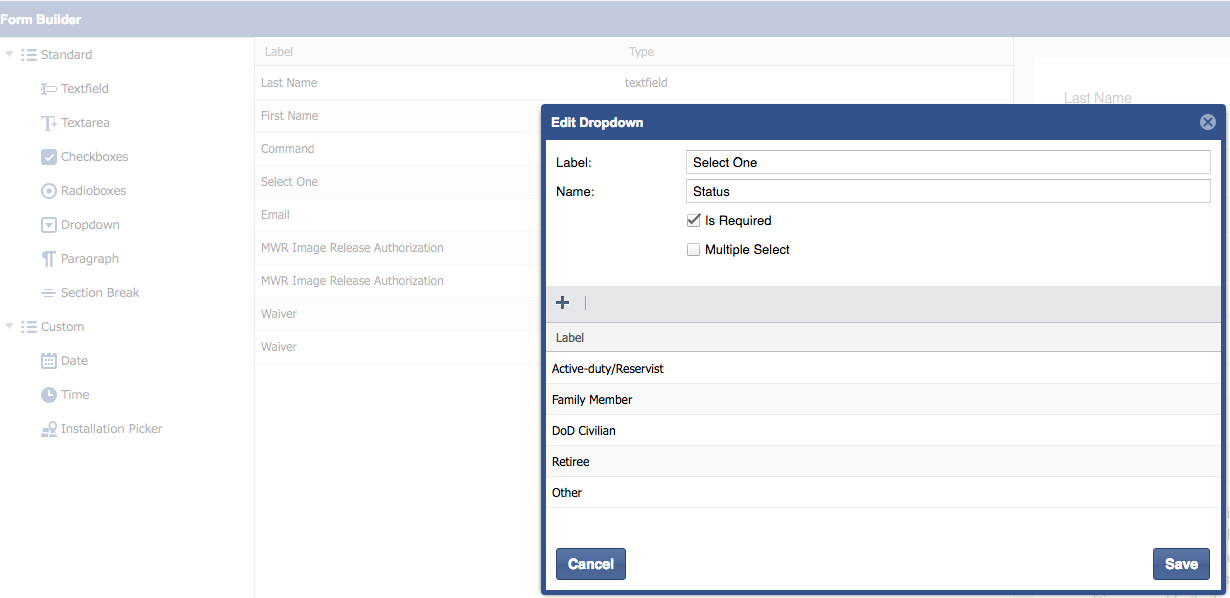
- Dropdown lists, check boxes and radio buttons all have additional labels within to edit. These options are added with the plus icon. Items in the dropdown, check box and radio buttons can be reordered by dragging and dropping the items in the order needed. They can also be edited by double clicking the item. To delete an item, highlight the item by clicking it and push the delete button on the keyboard. Dropdown allows the selection of multiple items by clicking the Multiple Select checkbox.
- Continue to add items to the form. The Custom items such as Date, Time Picker will add a calendar widget and a time dropdown to the form. The Installation Picker adds a dropdown of the installations in the enterprise. Select which installations appear in the dropdown.
- Once the form is complete it will save when the x in the top right corner of the form window is clicked.
- The next step it to add the form to a site planner page. In the menu select the Site Planner.
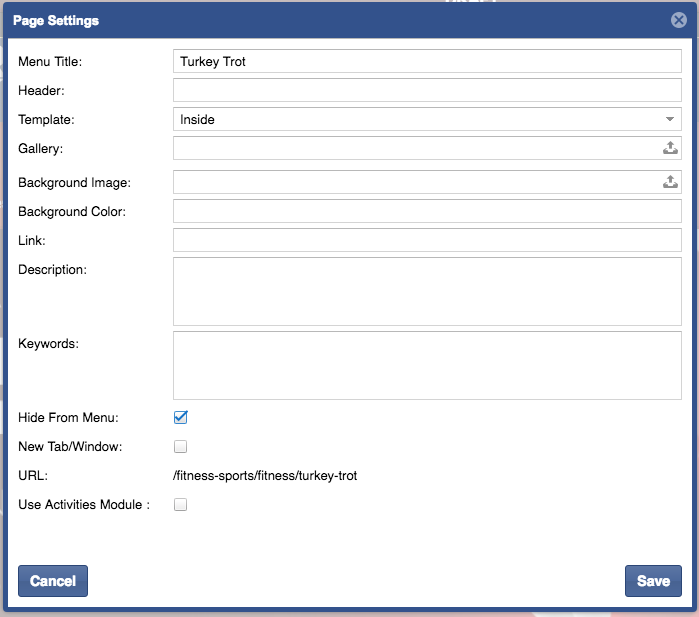
- Create a Site Planner page for the form to live.
- Choose to add the site planner page to the menu dropdown or hide the page from the menu. To hide a site planner page from the menu check the box for Hide From Menu. The form now has a URL also which can be seen in Page Settings gear under URL.
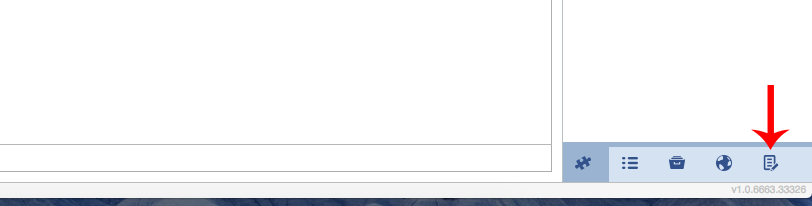
- Once the page is set up, click in Edit Region.

- Inside the Edit Region select the icon for Forms in the bottom right corner.
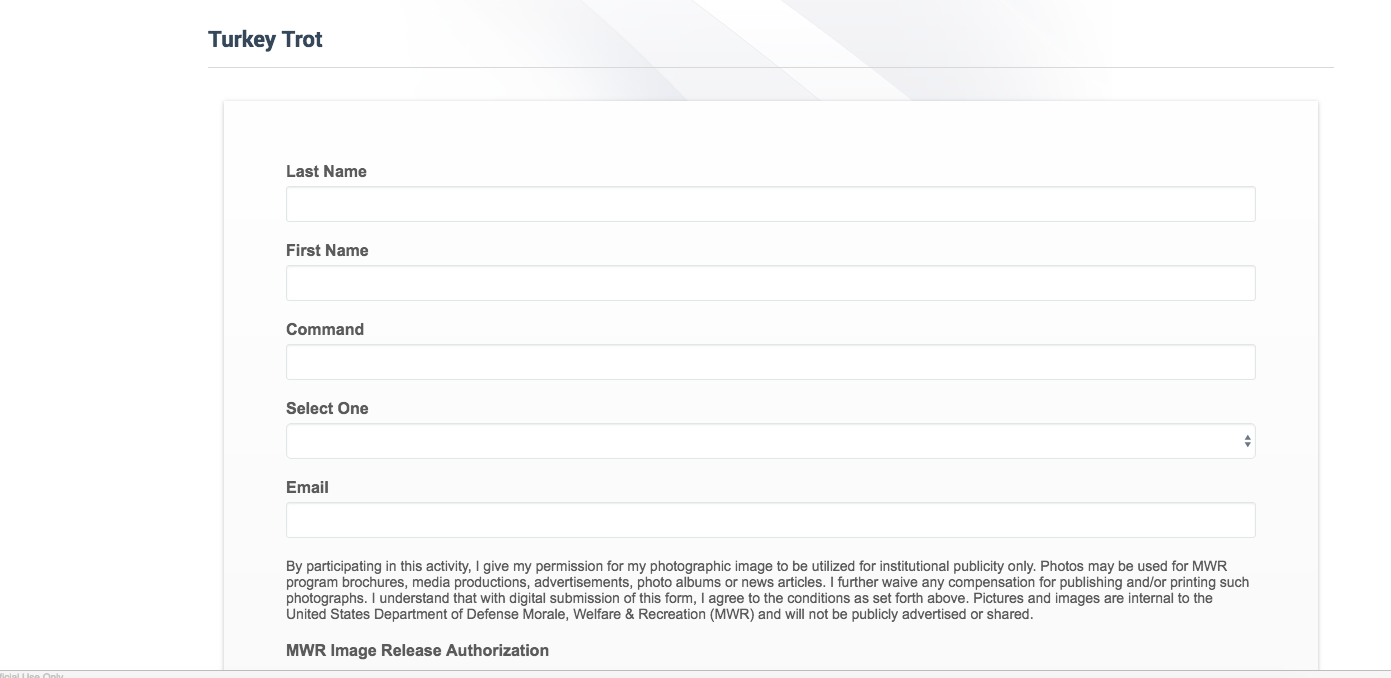
- This will display the Forms list above. Double click on the form to be added to the site planner page.

- The form is now added to the site planner page.

- Click Save to preview the form in the Site Planner.
- Publish and Approve.
- Form URLs can be added to Activity descriptions and to Content Explorer Program Descriptions.